Tuesday, September 19, 2023

Saturday, September 16, 2023
Double Porch Swings, Beach Cottage, South Carolina
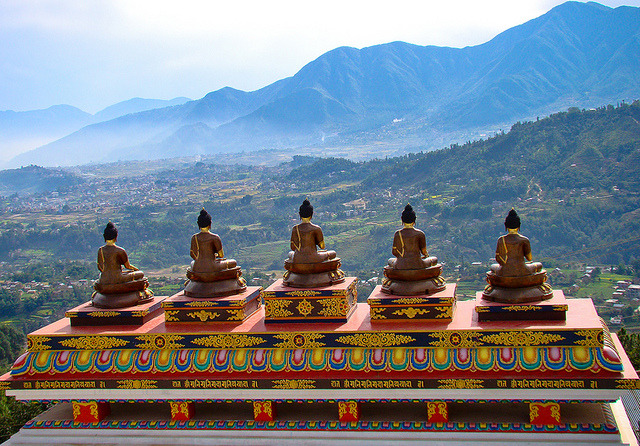
by Tilak Thapa on Flickr.Five Buddhas on the top of Amitabh Monastery in Nepal.
#himalayas, #amitabh, #statue, #landscape, #ASIA
Friday, September 15, 2023
Traditional sepik art in Kanganaman Village, Papua New Guinea

Thursday, September 14, 2023


Tuesday, September 12, 2023

Subscribe to:
Posts (Atom)